


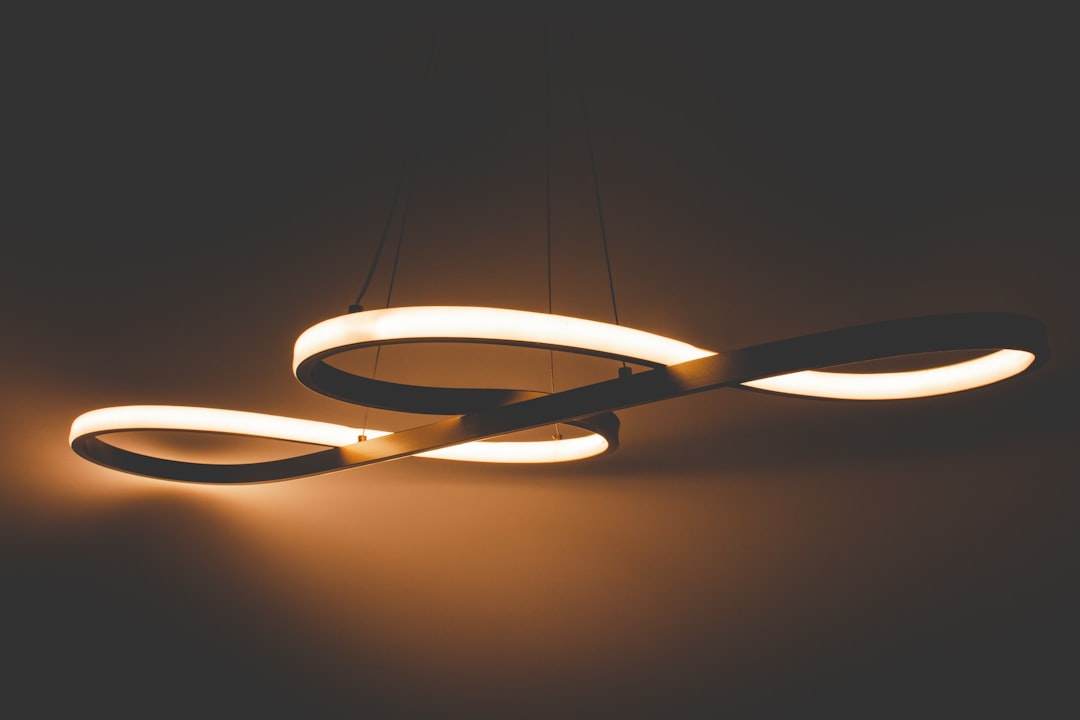
So, you’ve got a dining space with some serious vertical reach – lucky you! But when it comes to lighting, tall ceilings can be a bit of a head-scratcher. The quick answer to effectively lighting these lofty dining areas is tiered lighting. This isn’t just about throwing up a big chandelier and calling it a day. It’s about strategically layering different light sources at various heights to create a balanced, inviting, and functional glow. Think of it like building a beautiful lighting sculpture, with each piece playing its part in the overall picture.
Why Tiered Lighting is Your Best Friend
Tall ceilings are fantastic for creating a sense of grandeur and airiness. However, if not lit correctly, they can also feel cold, cavernous, and underlit. A single light Laldeen source, even a large one, often gets lost in the expanse, leaving the dining table feeling like a spotlighted island in a sea of darkness. Tiered lighting solves this by:
- Filling the Vertical Space: Instead of a vast, empty ceiling, different fixtures at different heights visually break up the height, making the room feel more proportionate and cozy.
- Enhancing Ambiance: Layers of light allow for more control over the mood. You can dim some layers for an intimate dinner or brighten others for a lively gathering.
- Improving Functionality: Specific tasks, like serving food or reading a menu, benefit from focused light, while ambient layers provide overall illumination.
- Adding Visual Interest: Diverse fixtures at varying levels become decorative elements themselves, contributing to the room’s aesthetic.
It’s about making your tall dining space not just bright, but beautifully lit and comfortable to be in.
Understanding the Layers of Tiered Lighting
To get tiered lighting right, it helps to break it down into its core components. We’re generally talking about three main layers, each with a distinct purpose.
The Ambient Layer: Setting the Overall Mood
This is your foundational lighting. Its job is to provide general illumination for the entire space, preventing dark corners and creating a comfortable baseline brightness.
- Recessed Lighting:
- The Workhorse: These are the unsung heroes of many tall rooms. Strategically placed recessed lights can wash the walls with light, bounce light off the ceiling, or provide general downlighting.
- Placement Matters: For tall ceilings, consider “wall washing” – placing recessed lights closer to the walls, aimed downwards, to highlight textures and make the space feel larger. Avoid placing them in a grid pattern in the middle of the ceiling as this can feel too clinical.
- Beam Angle: Look for wider beam angles (e.g., 60 degrees or more) for general ambient light, or narrower angles if you want to accent specific features.
- Dimmable: Always, always, make them dimmable. This is crucial for flexibility.
- Cove Lighting:
- Subtle Glow: Hidden light strips tucked into architectural coves or ledges along the ceiling or walls create a soft, indirect glow that beautifully highlights the room’s perimeter.
- Architectural Element: This is a fantastic way to emphasize the height without drawing attention to the light source itself. It makes the ceiling appear to float.
- Warm Tones: Often best used with warmer color temperatures (2700K-3000K) for a welcoming feel.
- Large Flush Mounts or Semi-Flush Mounts (Carefully Selected):
- **When Ceilings Aren’t Extremely Tall:** If your “tall” ceiling is more like 10-12 feet rather than 15+, a carefully chosen, appropriately scaled flush or semi-flush mount can contribute to ambient light without being overwhelming.
- Design Integration: Look for designs that complement your overall aesthetic. These fixtures should be substantial enough not to look tiny in the large space.
The Task Layer: Focused Functionality
This layer is all about putting light exactly where you need it for specific activities – primarily, over your dining table. This is where most people instinctively start, but it’s only one piece of the puzzle.
- The Chandelier:
- The Star of the Show: For tall dining spaces, a chandelier is often the natural focal point. But scale is paramount. A small chandelier will be dwarfed.
- Sizing Rule of Thumb: A common guideline for chandelier width is to add the length and width of the room in feet, and that sum in inches is a good starting point for the chandelier’s diameter. For very tall ceilings, you might even go a little larger to ensure it commands attention.
- Height: The bottom of the chandelier should typically hang 30-36 inches above the dining table for 8-foot ceilings. For taller ceilings, you can often raise it a few inches (up to 40-42 inches) to keep it from feeling too low, especially if it’s a very grand piece. The key is to ensure it doesn’t obstruct views across the table.
- Multi-Tiered or Multi-Light: Consider chandeliers that are themselves multi-tiered or have multiple light sources to distribute light more evenly and make a bigger impact in the vast space.
- Pendant Lights:
- Modern Alternative/Supplement: A cluster of pendants, or a linear multi-pendant fixture, can be a fantastic contemporary alternative to a single large chandelier, especially over rectangular tables.
- Varied Heights: Pendants offer incredible flexibility for creating a tiered effect within the task lighting. Hang them at slightly different heights to add visual interest and break up the vertical space.
- Light Spread: Consider the direction of the light. Do you want it focused straight down (good for task), or diffused all around (contributing to ambient)?
- Linear Suspension Fixtures:
- Sleek & Contemporary: These are excellent for long dining tables, providing even light distribution across the entire surface.
- Adjustable Height: Many models allow for adjustable suspension, which is key for finding that perfect sweet spot above the table.
The Accent Layer: Highlighting and Defining
This layer is where you add personality and draw attention to specific features, textures, or art. It fills in the gaps and adds depth.
- Sconces:
- Mid-Level Interest: Wall sconces positioned at eye level (around 60-66 inches from the floor) break up blank wall space and add a warm glow at a comfortable height.
- Uplight/Downlight: Choose sconces that direct light upwards to graze the tall walls, downwards for a more focused effect, or both for versatile illumination.
- Complementary Design: They should complement the style of your main chandelier or pendants.
- Picture Lights:
- Artistic Focus: If you have artwork on your tall walls, picture lights are a great way to highlight them, adding a specific point of interest and light at a mid-level.
- Uplights (Floor-Standing):
- Dramatic Effect: Placed on the floor and aimed upwards, these can dramatically graze tall architectural features, textured walls, or even plants, creating shadows and depth.
- Soft Ambient Contribution: While primarily accent, their indirect light bouncing off the ceiling or walls can contribute to the ambient layer.
- Track Lighting (Carefully Used):
- Directional Versatility: Modern track lighting can be surprisingly sleek and effective. It allows you to aim individual heads to highlight specific areas, artwork, or to wash a section of a tall wall.
- Subtle Tracks: Opt for minimalist, small-profile tracks that blend into the ceiling rather than standing out.
Key Considerations for Tall Dining Spaces
Beyond simply layering, there are some specific practicalities to keep in mind when working with significant ceiling height.
Scale and Proportion are Paramount
This can’t be stressed enough. What looks appropriate in an 8-foot ceiling room will look tiny and lost in a 15-foot space.
- Go Big (But Not Absurd): Don’t be afraid of larger fixtures. A chandelier that might seem oversized in a standard room could be perfect for a tall dining space.
- Visual Weight: Consider the “visual weight” of your fixtures. A delicate, airy chandelier might need to be larger in diameter than a heavy, solid one to have the same presence.
- Furniture Scale: Your lighting should also be in conversation with your dining table and chairs. A massive chandelier over a tiny bistro table will look off.
Dimmer Switches: Your Secret Weapon
Every single light source you install in your dining room, particularly in a tall space, should be on a dimmer switch.
- Mood Control: This is the most effective way to transition your dining room from a bright, functional space for family breakfast to an intimate, softly lit area for a romantic dinner.
- Energy Efficiency: Dimming lights uses less energy, prolonging bulb life.
- Balancing Layers: Dimmers allow you to fine-tune each layer of your tiered lighting, achieving the perfect balance of light for any occasion. Don’t skimp on this; it’s a game-changer.
Light Temperature and Color
The color of the light itself (measured in Kelvin, K) has a huge impact on the feel of your room.
- Warm White (2700K-3000K): This is generally the preferred choice for dining rooms. It creates a cozy, inviting, and flattering atmosphere, making food look appetizing and people look their best.
- Neutral White (3500K-4000K): Can be used for a slightly more contemporary or task-focused feel, but for a dining room, it often feels a bit too cool.
- Consistency is Key: Try to keep the color temperature consistent across all your fixtures within the dining space to avoid a jarring mix of cool and warm light. If you have open-concept living, you might consider a slightly higher color temp in a kitchen area but transition to warmer in the dining.
Installation and Maintenance Challenges
Tall ceilings present some practical hurdles that are worth considering upfront.
- Professional Installation: Unless you’re a seasoned electrician with a very tall ladder, installing fixtures high up is best left to professionals.
- Bulb Changes: How will you change bulbs? High-reach bulbs or hiring someone for maintenance are realities.
- Cleaning: Large chandeliers or fixtures high up will accumulate dust. Factor in how you’ll keep them sparkling. Consider fixtures with easily accessible bulbs or designs that minimize dust collection.
Designing Your Tiered Lighting Scheme
Now, let’s put it all together. Here’s a practical approach to planning your lighting.
Step-by-Step Planning
Don’t just buy fixtures you like; think about how they’ll work together.
- Assess Your Space:
- Ceiling Height: Be precise (10ft? 15ft? 20ft?).
- Room Dimensions: Length and width are crucial for sizing.
- Natural Light: How much light does the room get during the day?
- Architectural Features: Any coves, beams, or unique angles to highlight or work around?
- Decor Style: Modern, traditional, industrial, farmhouse? Your lighting should align.
- Define Your Needs:
- Primary Use: Formal dining, casual family meals, entertaining?
- Moods: What kind of atmosphere do you want to create?
- Artwork/Features: Anything you want to spotlight?
- Sketch it Out:
- Floor Plan: Draw a simple overhead view of your dining room.
- Ceiling Plan: Draw a view of your ceiling.
- Mark Fixture Locations: Indicate where you envision each type of light (recessed, chandelier, sconces). This helps visualize spacing and flow.
- Select Fixtures for Each Layer:
- Start with Task: Usually, the chandelier or pendants over the table are the centerpiece. Choose this first.
- Build Ambient Around It: Then, select recessed lights or cove lighting that complements the main fixture in terms of style and light output.
- Add Accent Last: Finally, introduce sconces, picture lights, or uplights to fill in and highlight.
- Consider Light Direction and Output:
- Upward Lighting: Makes ceilings appear higher, adds ambient glow.
- Downward Lighting: Good for task lighting, more focused.
- Omnidirectional: Spreads light evenly, often good for ambient.
- Lumens: Don’t just rely on wattage; check the lumen output to ensure adequate brightness.
Example Combinations for Different Styles
Here are a few ideas to get your wheels turning:
- Modern Minimalist Tall Dining:
- Ambient: Perimeter cove lighting with seamless LED strips (2700K-3000K). Minimalist, small-aperture recessed lights for general fill, aimed at walls.
- Task: A large, sculptural linear suspension fixture or a cluster of sleek, cylindrical pendants over the dining table, all dimmable.
- Accent: Slim, integrated LED wall washers highlighting a feature wall or large artwork.
- Traditional Elegant Tall Dining:
- Ambient: Recessed lights with warmer finishes (e.g., bronze trim) strategically placed to wash walls. Maybe a few general flood lights if the ceiling is exceptionally high.
- Task: A grand, multi-tiered crystal or brass chandelier, generously sized for the space.
- Accent: Ornate wall sconces with fabric shades at eye level, coordinated with the chandelier, providing a soft, upward and downward glow. Perhaps small uplights behind potted plants in corners.
- Industrial Chic Tall Dining:
- Ambient: Track lighting with exposed conduit, featuring adjustable spot heads to illuminate different areas of the room. Exposed filament bulbs for warmth.
- Task: A large, open-cage metal chandelier or several large industrial pendants with Edison bulbs over a reclaimed wood dining table.
- Accent: Wall-mounted “gooseneck” task lamps as decorative sconces, or focused accent lights aimed at exposed brick or concrete textures.
Remember, the goal is to create a symphony of light, not just a collection of fixtures. Each layer plays a vital role in making your tall dining space feel welcoming, beautiful, and utterly functional. Take your time, plan it out, and you’ll transform that lofty challenge into your home’s shining star.